
Making rice noodles for pho at home requires just a few simple ingredients—rice flour, tapioca starch, water, and salt—combined in a 2:1 ratio and steamed in thin sheets before cutting into noodle strips.
This straightforward process delivers superior texture and flavor compared to store-bought versions while offering complete control over ingredients and significant cost savings.
Key Takeaways
- Use a 2:1 ratio of rice flour to tapioca starch by volume, with water matching the total flour volume for optimal texture and chewiness
- Steam thin batter layers for 2-3 minutes until translucent, then cool and cut into desired noodle widths using basic kitchen equipment
- Allow the batter to rest for 30-60 minutes before steaming to ensure proper hydration and prevent brittle noodles
- Fresh homemade noodles cost 50% less than store-bought versions and can be stored at room temperature for 6 hours or refrigerated for up to 3 days
- Oil both the steaming plate and finished noodle sheets generously to prevent sticking and ensure easy removal during the cooking process
Understanding the Flour Combination
The foundation starts with understanding why this flour combination works so well. Rice flour provides structure and chew—the signature texture pho lovers desire. Tapioca starch adds elasticity and gives the noodles their translucent, glossy appearance.
Together, these flours mimic the consistency of professional-grade noodles and replicate the proprietary blends used in commercial kitchens for decades.
The Mixing Process
Measuring Ingredients
Ingredients are measured by volume for consistent, reproducible results at home. Combine:
- 2 cups rice flour
- 1 cup tapioca starch
- 3 cups warm water
- 1 teaspoon salt
Warm water, around 110°F (warm to the touch but not hot), helps dissolve the flours smoothly without forming lumps.
Hydrating the Batter
Let the mixture rest for 30-60 minutes at room temperature, covered with plastic wrap. This allows full hydration and ensures smooth, pliable noodles. Properly hydrated batter should have the consistency of heavy cream.
Steaming Noodle Sheets
Choosing the Right Equipment
You don’t need fancy tools—just a deep pot with a lid, a steamer insert, and flat glass or ceramic plates that fit inside.
- Glass or ceramic plates work best due to even heat distribution and better nonstick properties
- Metal plates should be avoided, as they develop hot spots and cook unevenly
Preparing for Steaming
Before pouring the batter, generously brush each plate with a neutral oil like vegetable or canola. Pour the batter to form a thin layer—about 1/8 inch thick. You’ll know it’s right if you can see the plate pattern faintly beneath the batter.
Steam each layer for 2–3 minutes. The sheet is done when it becomes translucent and slightly glossy. Avoid overcooking, which leads to tough noodles. Understeaming, on the other hand, leaves them raw and prone to tearing.
Cooling and Cutting
Let the noodle sheets cool completely on the plate before removing. Rushing this step leads to tearing and sticking. Once cool, use a sharp knife or pizza cutter to slice the sheets into uniform strips.
- Standard pho noodles are about 1/4 inch wide, but adjust based on preference
- Wider noodles pair well with hearty broths, while thinner noodles suit lighter, delicate soups
Storage Tips
Homemade rice noodles can be stored in two ways:
- Room Temperature: Up to 6 hours, ideal for same-day use
- Refrigerated: Up to 3 days. Use parchment paper between layers and a light coating of oil to prevent sticking
Cost Savings & Value
Homemade noodles cost nearly half the price of store-bought versions and provide fresher, better-tasting results. The minimal ingredient cost and reliable outcome make it a cost-effective addition to any home cook’s skill set.
Troubleshooting
- Lumpy batter? Your water may have been too cold or mixing was insufficient
- Sticky noodles? Not enough oil or tried removing them before cooling
- Brittle noodles? The batter didn’t rest long enough or the flour ratio is off
Advanced Variations and Ideas
Once the basic technique is mastered, expand with creative variations:
- Add 1 tablespoon of cornstarch for extra chewiness
- Use natural colorings such as beet or spinach powder for attractive visuals
- Explore recipe ideas featuring these noodles beyond pho, like stir-fries and rice noodle rolls
A Worthwhile Skill
Homemade rice noodles elevate pho from everyday to gourmet. The improved texture, fresh flavor, and customization options offer a memorable bowl every time. Once you master this method, you open doors to a world of Vietnamese noodle dishes, all from your own kitchen.
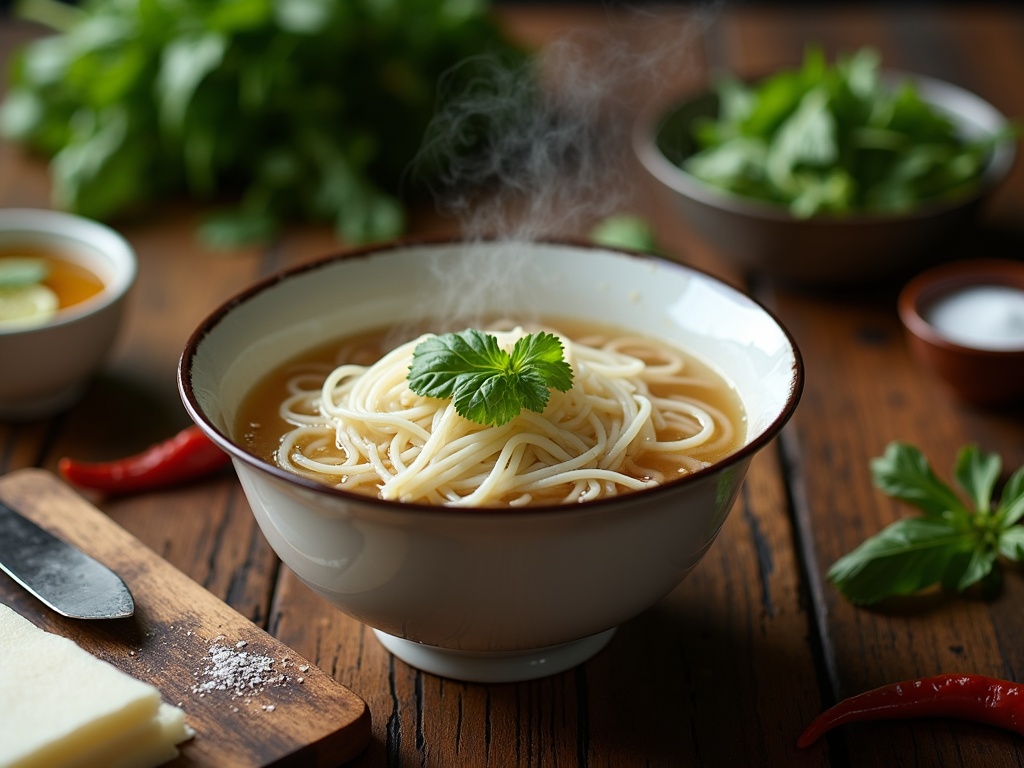
Bánh Phở: The Soul of Vietnamese Noodle Soup
Bánh phở represents the heart of authentic Vietnamese pho, and I can’t overstate how crucial these specific flat rice noodles are to creating an exceptional bowl. These noodles possess a distinctive soft, silky texture combined with just the right amount of chewiness that allows them to hold their structure in steaming hot broth without falling apart.
Fresh bánh phở (bánh phở tươi) delivers a superior experience compared to their dried counterparts (bánh phở khô). Fresh noodles absorb the rich broth flavors more effectively while maintaining that coveted tender texture that makes each slurp memorable. I always recommend using fresh noodles when possible, as they create the authentic mouthfeel that Vietnamese cooks have perfected over generations.
Essential Characteristics and Preparation
The ideal bánh phở measures 1/4 to 1/2 inch wide and about 1/16 inch (1.5mm) thick. These dimensions aren’t random—they create enough surface for broth absorption while ensuring fast, even cooking.
Traditional recipes use:
Non-glutinous rice flour
Water
Salt
Modern versions often add tapioca starch for extra chewiness, helping the noodles remain resilient in hot broth. Unlike Italian pasta, which celebrates al dente texture, pho noodles should be soft yet structured. I typically blanch fresh noodles for 10–15 seconds, while dried ones soak for 3–5 minutes before use.
Noodle width varies by dish:
Pho Ga prefers slightly thinner noodles to match the lighter broth
Pho Bo uses wider noodles that hold up to rich, beefy flavor
Knowing these distinctions helps you create authentic bowls true to Vietnamese tradition.
Preparation affects outcome. I rinse fresh noodles under cold water to remove excess starch and prevent clumping. For dried noodles, I soak them in warm water until pliable, then boil briefly to finish.
Storage also matters:
Use fresh noodles within 48 hours, stored airtight in the fridge
Dried noodles last longer but require proper rehydration for ideal texture
Temperature control is key. Always cook with rapidly boiling water and consistent heat. Overcooking turns delicate noodles mushy and ruins their ability to carry broth.
Flour quality plays a big role. I choose finely milled, high-grade rice flour to ensure smooth, durable sheets when steamed. Lower-grade flour can cause breakage or gritty texture.
In professional Vietnamese kitchens, bánh phở is made fresh daily. Steamed rice batter is sliced into uniform noodles, producing unmatched silkiness and flavor—though this method requires skill and the right tools.
Why Make Your Own Noodles: Ingredient Control and Superior Results
I’ve discovered that making your own pho noodles transforms both the quality and cost of this beloved dish. When you control every ingredient that goes into your noodles, you eliminate the guesswork and unwanted additives that plague commercial versions.
Complete Ingredient Transparency and Health Benefits
Store-bought fresh noodles often contain preservatives like sodium benzoate and other additives that extend shelf life but compromise flavor and health. I appreciate knowing exactly what goes into my noodles—typically just rice flour, tapioca starch, water, salt, and a touch of oil. This simple ingredient list of 4-5 components contrasts sharply with the lengthy chemical roster found on commercial packages.
Homemade noodles also eliminate concerns about undeclared allergens or cross-contamination that can occur in manufacturing facilities. For those with specific dietary restrictions or sensitivities, this control becomes invaluable. Rice vermicelli composition follows similar principles, emphasizing the importance of understanding what goes into your noodles.
Superior Texture, Taste, and Cost Savings
https://www.youtube.com/watch?v=FkFNT7jND6w
Essential Ingredients and Equipment for Perfect Noodles
Creating authentic pho noodles at home requires specific ingredients in precise proportions. I recommend using a 2:1 ratio of rice flour to tapioca starch by volume for the ideal texture. This means combining 1 cup of rice flour (approximately 120g) with 1/2 cup of tapioca starch (about 60g). The water-to-flour ratio follows a simple 1:1 volume ratio, so you’ll need 1.5 cups of water for every 1.5 cups of your dry flour mixture.
Key Ingredients for Success
Your ingredient selection directly impacts the final noodle quality. I always choose finely milled white rice flour—avoid sweet rice flour as it contains different starches that won’t produce the right texture. Rice vermicelli ingredients share similar foundations, but pho noodles require this specific flour combination for their characteristic chewiness.
The essential ingredients include:
- High-quality rice flour (Erawan Three-Headed Elephant brand works exceptionally well)
- Tapioca starch for elasticity (Bob’s Red Mill or Flying Horse brands are reliable)
- Clean water for proper hydration
- A pinch of salt for enhanced flavor
- Neutral oil to prevent sticking during steaming
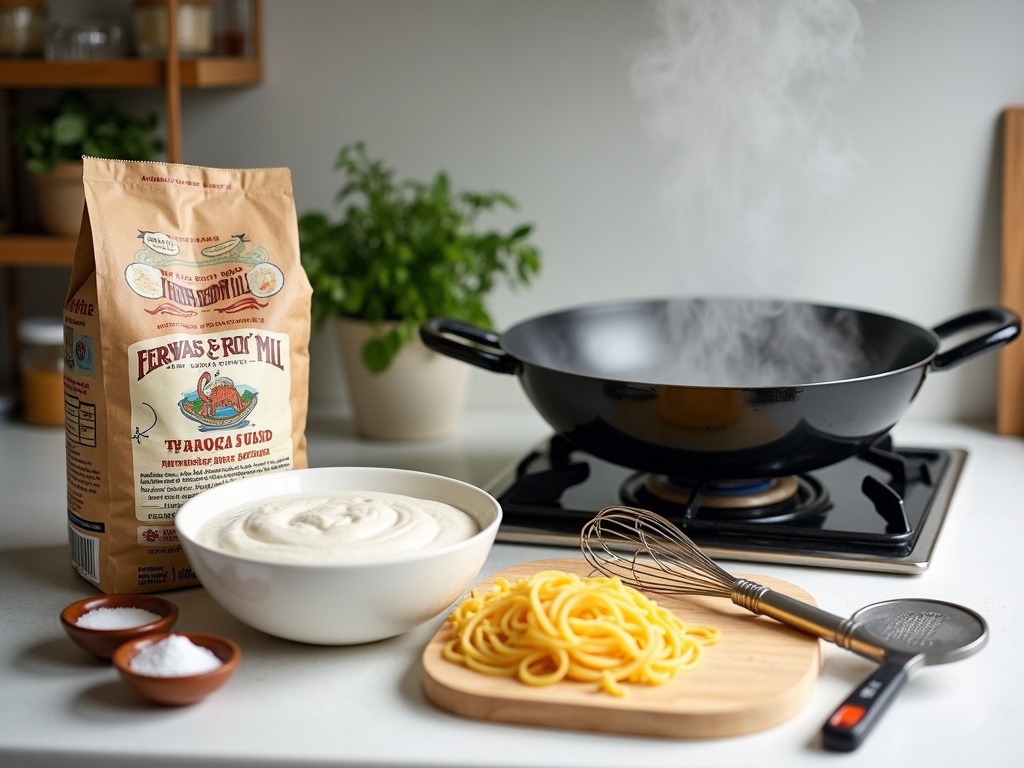
Required Equipment and DIY Setup
Proper equipment ensures consistent results every time. I use a large mixing bowl, whisk, and fine-mesh sieve for smooth batter preparation. A 12-14 inch lidded pot or wok serves as the steaming vessel, paired with a steaming rack and flat heat-proof plate like an 8-inch cake pan. A silicone brush helps spread the batter evenly, while a sharp knife or pizza cutter creates clean noodle cuts.
Creating a DIY steamer setup is straightforward when you don’t have specialized equipment. I place a metal rack or several crumpled foil balls at the bottom of my wok, adding 1-2 inches of water below the rack level. The water should reach a rolling boil before placing your batter-filled plate inside the steamer. This setup maintains consistent steam circulation for even cooking.
Temperature control matters significantly during steaming. I maintain steady heat throughout the cooking process to achieve uniform thickness and texture. The steaming plate should remain level to prevent uneven noodle sheets that could affect your final rice vermicelli dishes.
Quality flour brands make a noticeable difference in texture and flavor. Erawan rice flour provides consistent results with its fine milling, while trusted tapioca starch brands ensure proper elasticity without grittiness.
Step-by-Step Process and Troubleshooting Tips
I’ll walk you through the complete process of making fresh rice vermicelli sheets for pho, starting with the batter preparation through cutting your finished noodles.
Making the Perfect Rice Noodle Batter
First, I sift rice flour and tapioca starch together to eliminate lumps. I then whisk in water and salt until the mixture reaches a smooth, heavy cream consistency. The key here is patience—I let this batter rest for 30 to 60 minutes, allowing the flour to fully hydrate. This resting period prevents brittle noodles later.
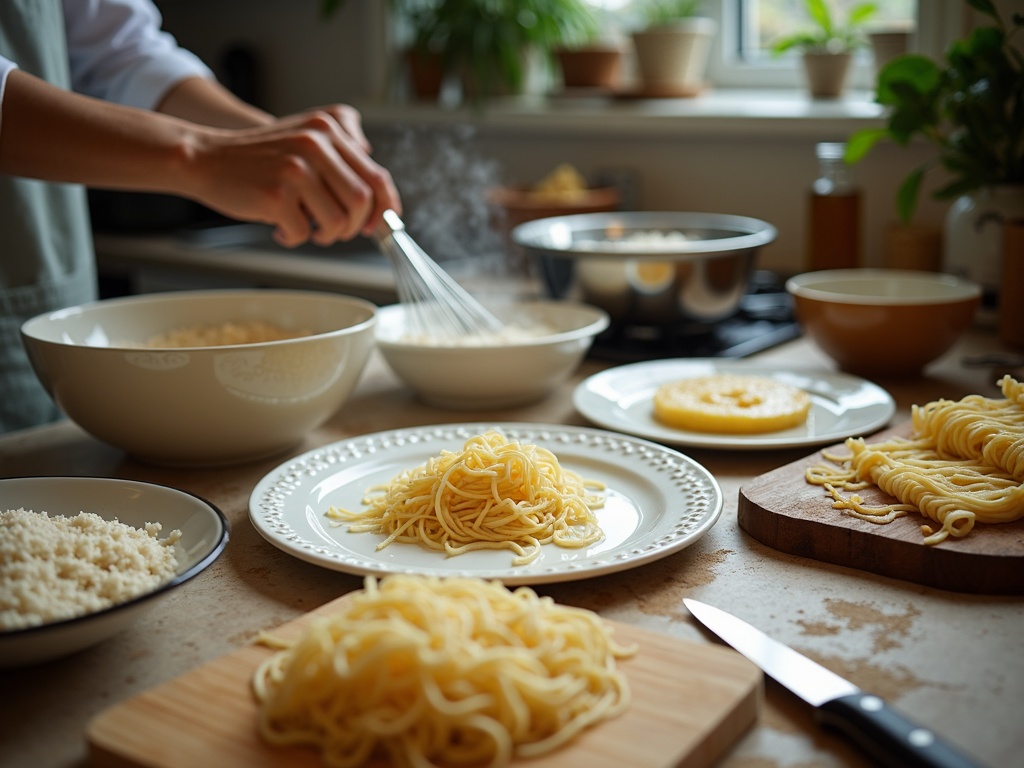
Next, I bring 1 to 2 inches of water to a vigorous boil in my steamer setup over high heat. I oil an 8-inch heat-proof plate generously before pouring in approximately 1/4 cup of batter. Swirling the plate ensures even distribution across the surface.
I steam the batter covered for 2 to 3 minutes until it becomes translucent and firm with no visible white spots remaining. After cooling for 1 to 2 minutes, I brush the surface with oil and gently peel the sheet from the plate. Each sheet gets stacked on an oiled cutting board. A single 1.5-cup dry flour mix batch typically yields 5 to 7 noodle sheets in an 8-inch pan.
Finally, I slice the stacked sheets into my desired noodle width for family meals.
Storage and Common Problems
Fresh rice noodles stay safe at room temperature for up to 6 hours, making them perfect for same-day use. I can refrigerate them in an airtight container for up to 3 days. To reheat refrigerated noodles, I use one of the following methods:
- Blanch in boiling water for 15 to 30 seconds
- Microwave with a damp paper towel for 30 to 45 seconds
I never freeze these noodles as freezing destroys their delicate texture.
Brittle noodles usually result from incorrect flour ratios or insufficient resting time. I always use the correct proportions and allow a full 30-minute rest minimum. Gummy noodles happen when I oversteam or use insufficient oil—I reduce steam time to exactly 2 minutes and apply adequate oil.
Holey or uneven sheets often come from improper pouring technique or unlevel steaming plates. I pour the batter directly into the center of the plate and swirl gently outward, ensuring my steaming setup remains perfectly level throughout the process.
Sources:
– Bánh Phở: The Soul of Vietnamese Noodle Soup
– Why Make Your Own Noodles: Ingredient Control and Superior Results
– Essential Ingredients and Equipment for Perfect Noodles
– Step-by-Step Process and Troubleshooting Tips